Crafting a Budget-Friendly Makeup Vanity: A Guide to Enhancing Your Beauty Routine
Related Articles: Crafting a Budget-Friendly Makeup Vanity: A Guide to Enhancing Your Beauty Routine
Introduction
In this auspicious occasion, we are delighted to delve into the intriguing topic related to Crafting a Budget-Friendly Makeup Vanity: A Guide to Enhancing Your Beauty Routine. Let’s weave interesting information and offer fresh perspectives to the readers.
Table of Content
Crafting a Budget-Friendly Makeup Vanity: A Guide to Enhancing Your Beauty Routine

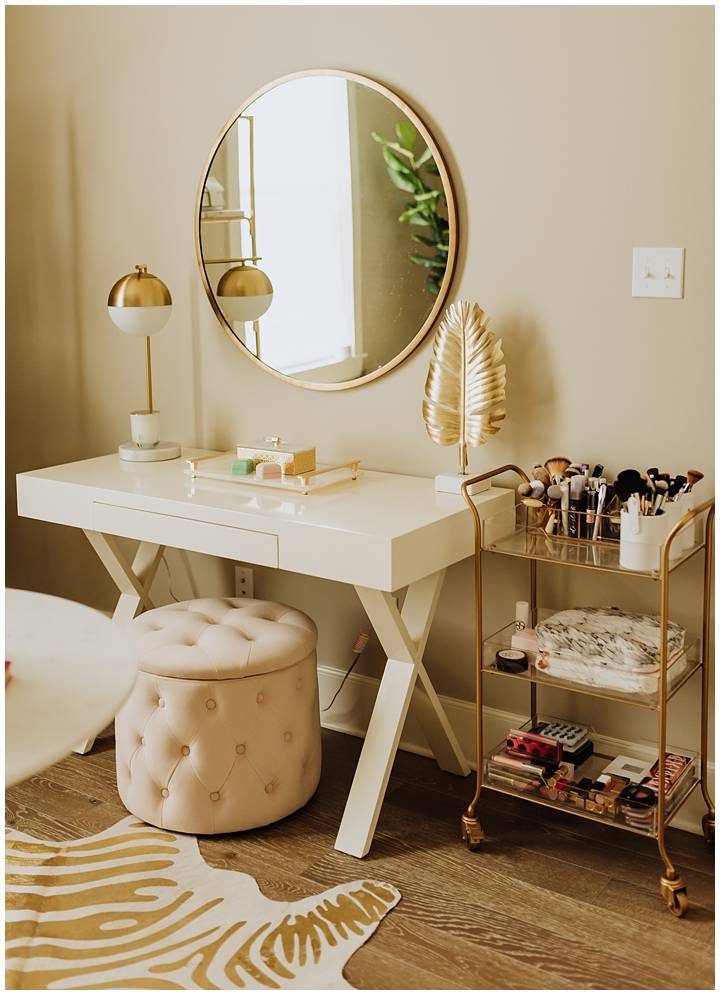
A well-organized and stylish makeup vanity can transform your daily routine into a luxurious experience. It provides a dedicated space for applying makeup, storing your cosmetics, and creating a calming ambiance for self-care. However, the cost of a pre-made vanity can be prohibitive for many. Fortunately, building a budget-friendly makeup vanity is achievable with a bit of creativity and DIY spirit. This guide will walk you through the process, offering practical tips and solutions to help you create a personalized space that meets your needs and budget.
Understanding the Importance of a Makeup Vanity:
Beyond aesthetics, a dedicated makeup vanity offers several practical benefits:
- Organization and Accessibility: A vanity provides a designated area for storing your makeup, brushes, and tools, eliminating clutter and ensuring easy access to everything you need.
- Improved Lighting: Adequate lighting is crucial for precise makeup application. A vanity mirror with integrated lighting or a strategically placed lamp can illuminate your face, allowing you to see every detail.
- Enhanced Self-Care Experience: A dedicated space for your beauty routine can transform it into a relaxing and enjoyable experience, fostering a sense of self-love and well-being.
Planning Your Budget-Friendly Vanity:
Before embarking on your DIY project, it is essential to plan carefully.
- Define Your Needs: Consider the size and features you require. Do you need ample storage space for a large collection, or is a smaller, more compact design sufficient?
- Set a Budget: Establish a realistic budget for the project, factoring in the cost of materials, tools, and any necessary hardware.
- Choose a Style: Decide on the overall aesthetic you want to achieve. Will it complement your existing décor or create a unique focal point?
- Research and Gather Inspiration: Browse online resources, magazines, and home décor stores for inspiration and ideas. Consider repurposing existing furniture or using salvaged materials to minimize costs.
DIY Options for a Budget-Friendly Vanity:
Here are some popular DIY options for creating a cost-effective makeup vanity:
1. Repurposed Furniture:
- Dresser: A vintage dresser can be easily transformed into a vanity with the addition of a mirror and some organizational features.
- Console Table: A console table provides a sleek and modern base for a vanity.
- Desk: A simple desk can be repurposed with the addition of a mirror and storage solutions.
2. Building from Scratch:
- Simple Frame Construction: Utilizing basic woodworking skills, you can build a frame from inexpensive wood and attach a tabletop, mirror, and storage compartments.
- Pallet Vanity: Pallets are readily available and can be transformed into a rustic and unique vanity with some sanding, painting, and creative design elements.
3. DIY Storage Solutions:
- Floating Shelves: Create open storage for displaying your cosmetics and tools.
- Drawer Organizers: Utilize drawer organizers to separate and categorize your makeup collection.
- Acrylic Storage Boxes: Transparent acrylic boxes provide visibility and organization for smaller items.
Essential Tools and Materials:
- Wood: Choose a sturdy and affordable wood type like pine, plywood, or MDF.
- Mirror: Select a mirror that complements your chosen style and provides adequate size and lighting.
- Hardware: Purchase necessary screws, hinges, drawer slides, and handles.
- Paint or Stain: Choose a color or finish that complements your décor and personal style.
- Measuring Tape, Level, and Saw: Tools for accurate measurements and cuts.
- Sandpaper, Primer, and Paintbrushes: For preparing and finishing the surface.
- Screwdriver, Drill, and Hammer: For assembling the vanity.
Step-by-Step Guide to Building a Budget-Friendly Vanity:
1. Design and Planning:
- Measure and Sketch: Measure the space where the vanity will be placed and sketch a detailed plan, including dimensions, storage compartments, and mirror placement.
- Choose Materials: Select the wood type, mirror, and hardware based on your budget and desired style.
2. Construction:
- Cut Wood: Cut the wood pieces according to your plan using a saw.
- Assemble Frame: Assemble the frame using screws and wood glue, ensuring stability and alignment.
- Attach Top and Base: Secure the tabletop and base to the frame.
- Add Storage: Install drawers, shelves, or compartments based on your design.
3. Finishing Touches:
- Sand and Prime: Sand the surface to create a smooth finish and apply a primer before painting.
- Paint or Stain: Apply paint or stain according to your chosen color and style.
- Install Mirror: Attach the mirror to the vanity using appropriate hardware.
- Add Handles and Hardware: Install handles and other hardware for drawers and doors.
4. Organization and Styling:
- Organize Your Makeup: Categorize and arrange your makeup products within the vanity drawers and shelves.
- Add Decorative Touches: Include decorative items like vases, candles, or plants to personalize your space.
FAQs about Building a Budget-Friendly Makeup Vanity:
Q: How do I choose the right size for my vanity?
A: Consider the space available in your bedroom and the amount of storage you need. A smaller vanity is suitable for limited space, while a larger one can accommodate a larger makeup collection.
Q: What type of mirror should I use?
A: Choose a mirror that provides adequate lighting and magnification for applying makeup. Consider a mirror with integrated lights or a freestanding mirror with adjustable brightness.
Q: How can I add storage to my vanity?
A: Add drawers, shelves, or compartments to the vanity based on your storage needs. You can also use organizers within the drawers to categorize your makeup.
Q: How can I personalize my vanity?
A: Personalize your vanity with paint, wallpaper, decorative accents, and organizational solutions that reflect your style and preferences.
Tips for Building a Budget-Friendly Makeup Vanity:
- Shop Around for Materials: Compare prices at different stores to find the best deals on wood, hardware, and paint.
- Consider Salvage Materials: Repurpose existing furniture or use salvaged materials to save money.
- Utilize Free Resources: Check online resources for free plans and tutorials.
- Prioritize Functionality: Focus on creating a functional and organized vanity that meets your needs.
- Embrace Imperfections: A handmade vanity may not be perfectly flawless, but embrace its unique character and imperfections.
Conclusion:
Building a budget-friendly makeup vanity is a rewarding project that allows you to create a personalized space for enhancing your beauty routine. By following these tips and strategies, you can transform a simple piece of furniture or use basic woodworking skills to craft a vanity that reflects your style and needs. Remember, the process is as important as the outcome, allowing you to express your creativity and build something truly unique and practical.


Closure
Thus, we hope this article has provided valuable insights into Crafting a Budget-Friendly Makeup Vanity: A Guide to Enhancing Your Beauty Routine. We thank you for taking the time to read this article. See you in our next article!